
Welcome
Remote recording has always been a staple for podcasters. It’s extremely convenient to be able to speak with anyone in the world from the comfort of your own office (or home). However, steps need to be taken to ensure the highest audio quality possible when recording remotely. A few small things can go a long way to keeping your podcast sounding professional, and keeping your listeners happy.
For extra security, we will recommend that you record remote calls on your recording device of choice, while also recording a backup of the call on Zoom.us.
This guide has been made using Zoom.us, macOS, and iPad. Settings should be similar on Windows and Android devices.
Contents
This guide is also available as a PDF, which you can download here.

Zoom.us
Account registration & install
Create an account at https://zoom.us (Free accounts are limited to 40 minutes and may have other restrictions)
Download the Zoom app for desktop at https://zoom.us/download
Follow normal install prompts
Once complete, open the Zoom app (You may need to restart your computer)
Schedule a meeting

When opening the Zoom app, you will be greeted with the following home screen. First, we need to create a recurring “meeting room” for the podcast recording.

Create a recurring “meeting” that you can use as a podcast recording room on a regular basis
Cloud vs. Local Recording
When setting your meeting to automatically record, be sure to choose “Locally” as the recording option. Cloud recording is convenient, but does not record audio files on separate tracks the way we prefer. Cloud recording should be a last resort; or, if you are recording exclusively on mobile devices, cloud recording becomes your only option.
Find your meeting
Once you confirm and click “Schedule,” Zoom will automatically open your preferred calendar app and ask you to set meeting days/times. You can ignore this completely. Your recurring meeting room will still be saved.

Once complete, navigate to the “meetings” tab to find your meeting room.
Share your meeting
This podcast meeting room will use the same URL each time you want to join a room and start a recording.

Use the “Start” button to begin your meeting, and use the “Copy Invitation” button to send instructions and links to your guest.
Preferences

Double check your app to ensure the following settings are in place. Navigate to Zoom > Preferences, or click CMD + comma while Zoom is open.

General, Video, Chat, Virtual Background, Advanced Features, etc. are all preferences that you can set personally to be customized to your experience. For our purposes, we will focus specifically on the “Audio” and the “Recording” preferences options.

Before recording a meeting, you will need to select the audio device that will be used.
“Speaker” is where you will hear sound from - speakers, or headphones. “Microphone” is the mic that you will use, which your guest will hear you from. More on audio settings later.

Before recording a meeting, double check that these options are selected; these are the two most important buttons in the entire menu.
Start A Call
From your Zoom home screen, choose the meeting room you just created and click “Start” to begin your meeting.

You should notice that the app will begin recording the meeting right away.
Confirm Recording

Double check that your meeting is recording.

You can pause or stop the recording while still on the Zoom call if needed.
Find Your Recordings
After you finish a podcast recording with Zoom, you will want to locate the saved files.
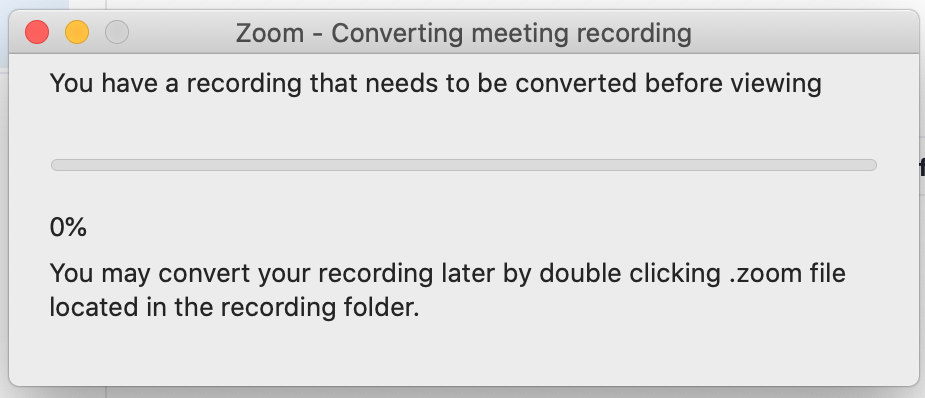
Once you stop a meeting, Zoom will automatically convert your files, and this window will appear.
The files will be saved in the location that you chose earlier, when setting up your meeting/recording settings. By default, they will save to your Computer > User > Documents > Zoom.

Each recording is saved as a folder, labeled with the date/time of the meeting. You will see a number of files within.
Audio Only: audio recording of the entire meeting
Zoom_0.mp4: video + audio recording of the entire meeting
“Audio Record” folder: individual audio files from each participant

If we are handling your post-production, we prefer for you to send this entire recording folder to us. First, please “compress” the folder into a duplicate .zip file. Upload this single .zip file for our team.
Livestreaming
You can also live stream your recordings directly from Zoom to your streaming platforms. Go to https://Zoom.us > My Account > Meetings

Select the meeting you want to use to livestream from. At the bottom of the screen is a “Live Streaming” settings option; click “edit”

Enter the stream URL & stream key from your streaming service (YouTube, Facebook Live, Twitch, or similar).
Enter the landing page where users can watch your live stream feed (e.g. your YouTube channel page)

Start your meeting, and click the “more” button at the bottom of your screen, and choose to go “Live on” the streaming service you set up
Congrats, you’re live! Share your meeting with your audience, and be sure that you are recording your meeting during the livestream as well

Recording
We’ll cover specific recording setups for 3 different options

RODECaster Pro

Zoom H6
ATR-2100

RODECaster Pro
Zoom Input/Output
We recommend hosting Zoom calls through your desktop or laptop (not mobile) when using the RODECaster.

Your “microphone” and “speaker” audio settings for Zoom should match this.
USB Channel

Once setup, your Zoom call audio will come through the ‘USB’ channel of your RODECaster. Adjust the volume to your desired loudness with the channel fader.

If you notice clipping or distortion from the Zoom call, you may need to check the input settings for the USB channel. Go to Settings > Channels > USB to adjust the level of your USB input.
Mix Minus

The RODECaster has automatic mix-minus which will prevent your Zoom guests from getting a feedback of their own voice. To enable this, go to Settings > Advanced > Multitrack > USB.
Recording

As with all recording options, before you begin the session, double check that both the RODECaster and Zoom are recording.

ATR-2100
USB Microphones
There are a number of USB microphones that have the same function. If you are unable to purchase the ATR-2100x (our preferred model), the following replacements will work the same way:
ATR-2100 (1st gen.)
In this guide, we will use “ATR-2100” to refer to any USB microphone.
Setup

Plug your USB cable into the bottom of the ATR-2100 microphone.

Plug your headphones into the ATR-2100 as well. This ensures that you can hear yourself through the mic while also hearing your guests on the call.

Once plugged in, make sure that the microphone is powered on by turning the switch ‘up.’
Mobile Options
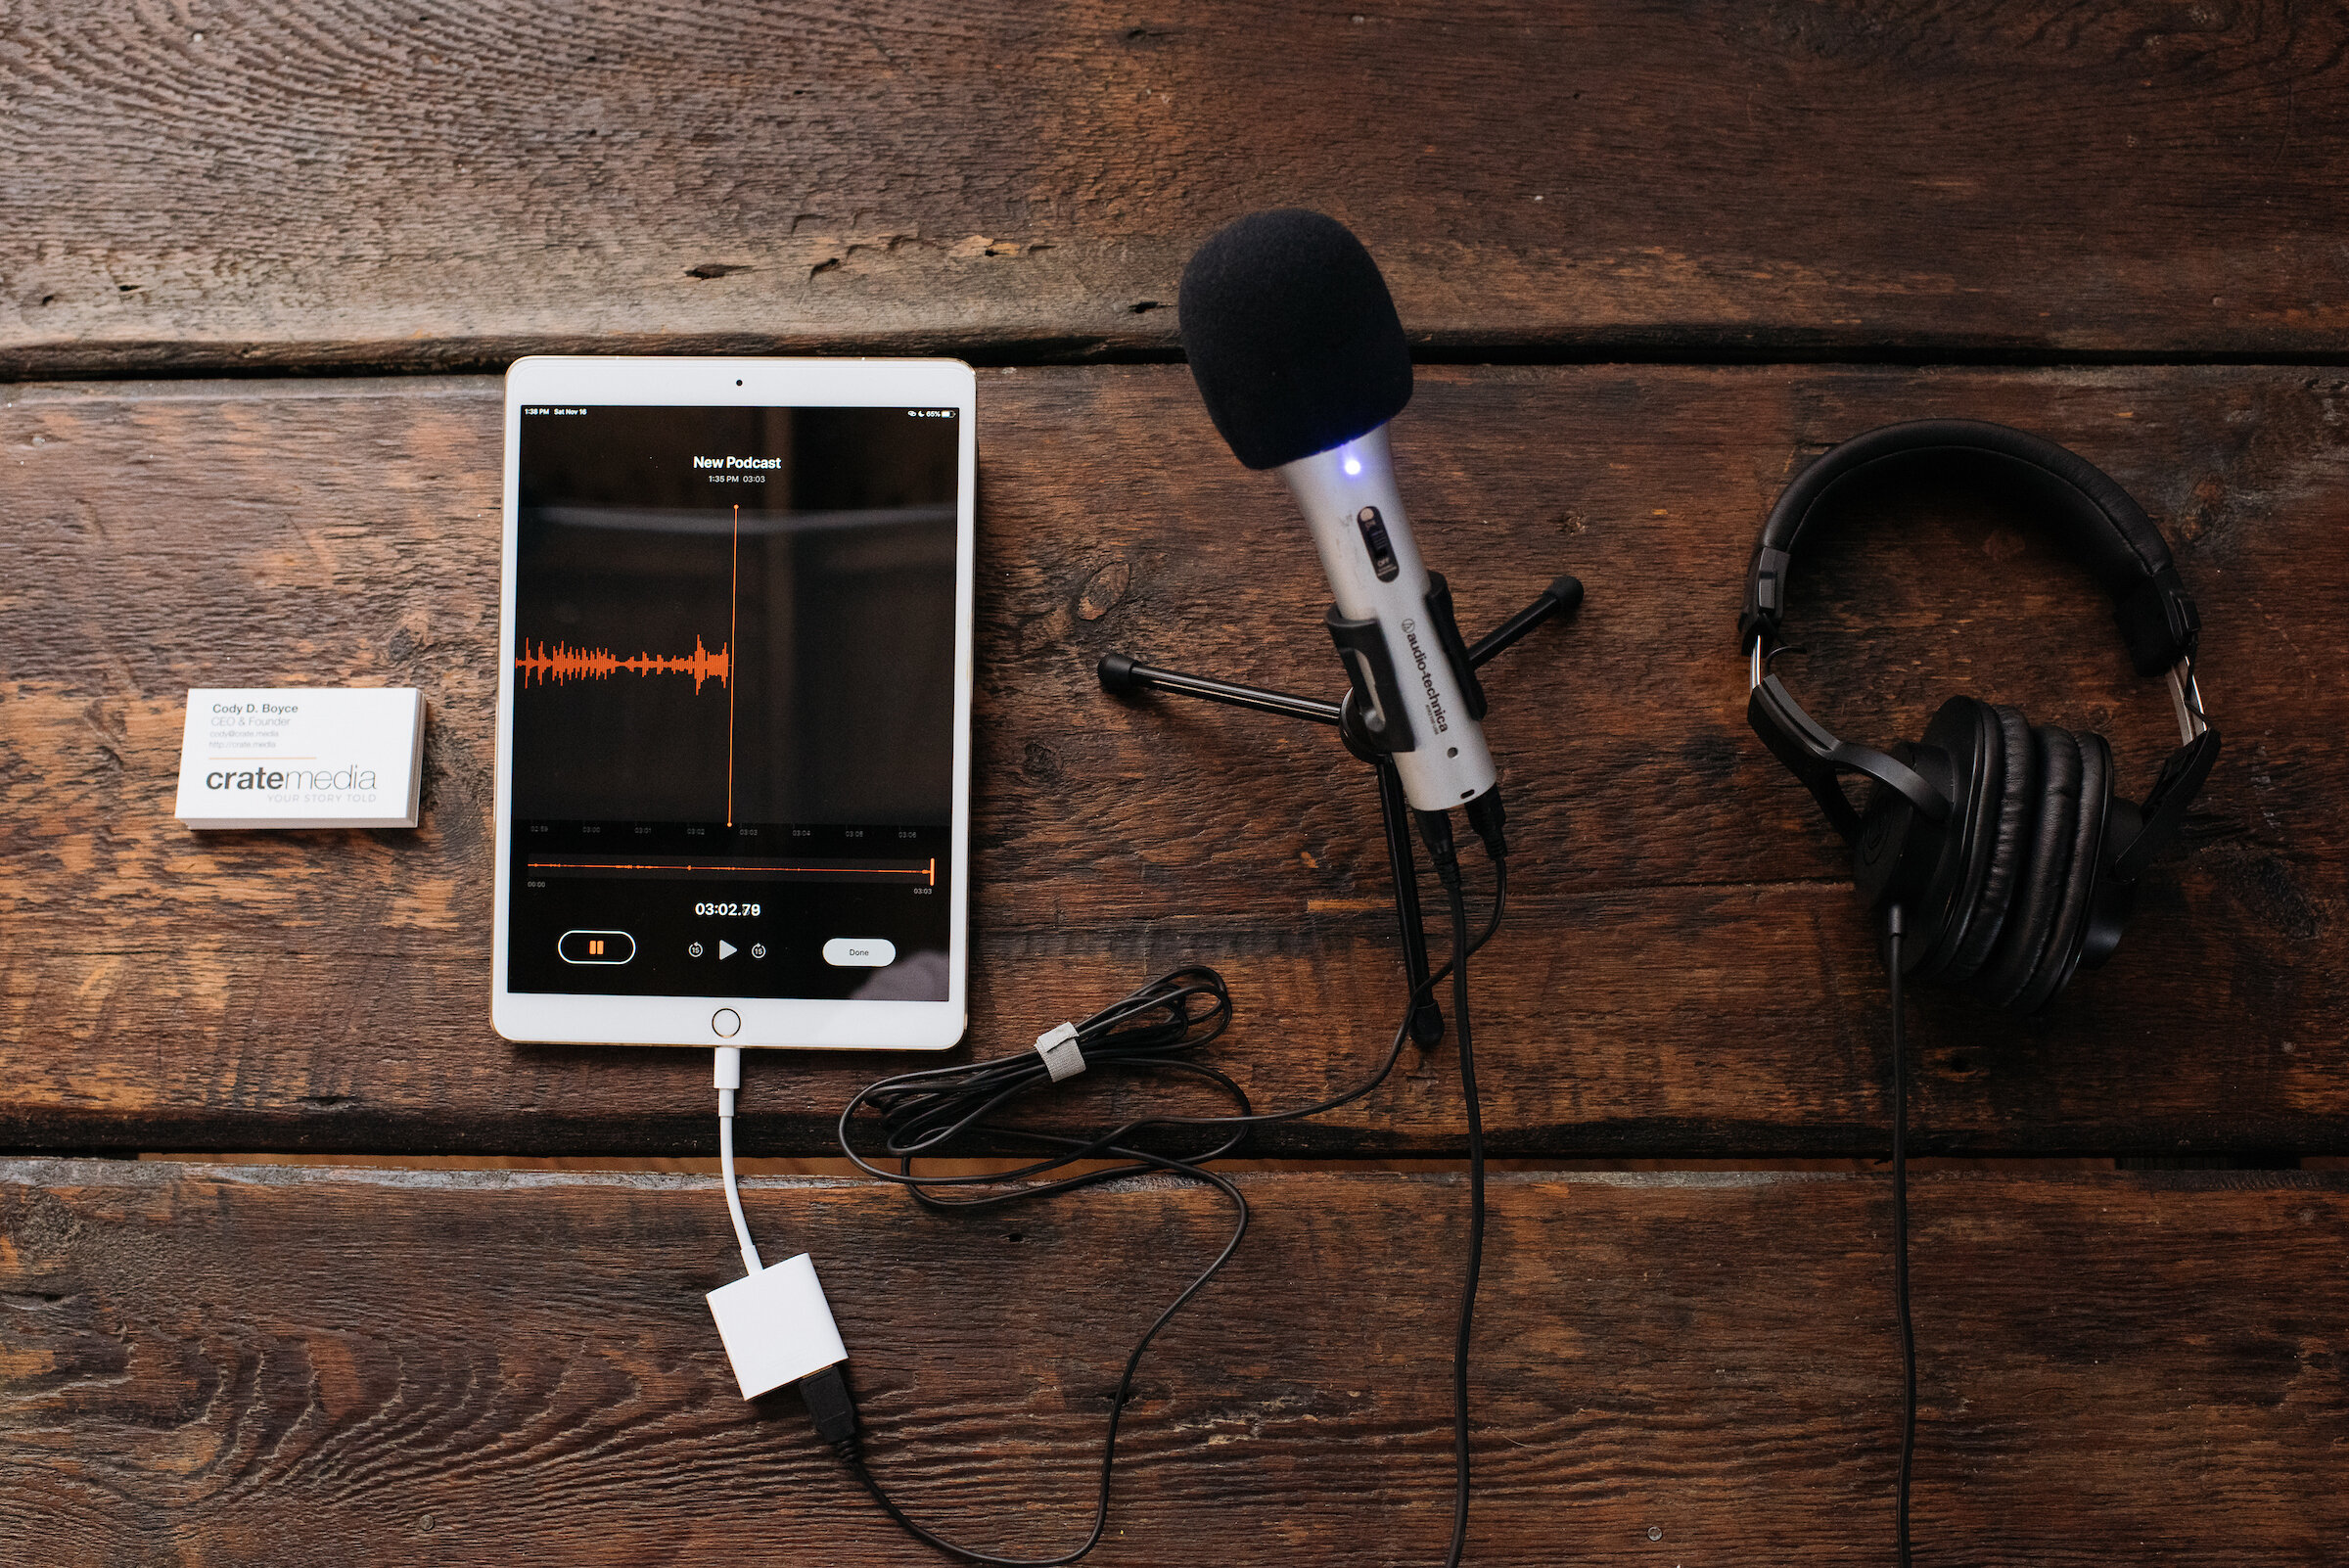
iPhone / iPad

You need this adapter for iPhone/iPad. Plug your microphone into the adapter using the USB cable

Plug the adapter into your iPhone or iPad.

Open the app ‘Voice Memos.’

Begin recording on “Voice Memos.” You should see the red waveforms on the app responding to your microphone. Always double check that your device is picking up sound from the mic before starting a recording.

When recording on mobile, Zoom.us will have to use cloud recording instead of local recording. If your meeting did not start recording automatically, click “More” and then “Record to the Cloud.”

Once recording, you will see the “Recording…” icon on the meeting screen. You can click “More” again to either pause or stop the recording.
Before you record, double check that you’ve created your Zoom meeting on a desktop or laptop and that the recommended settings are enabled. Once that’s complete, you can join the Zoom meeting from mobile and all the settings will remain enabled.
As with all recording options, before you begin the session, double check that both Voice Memos and Zoom are recording.
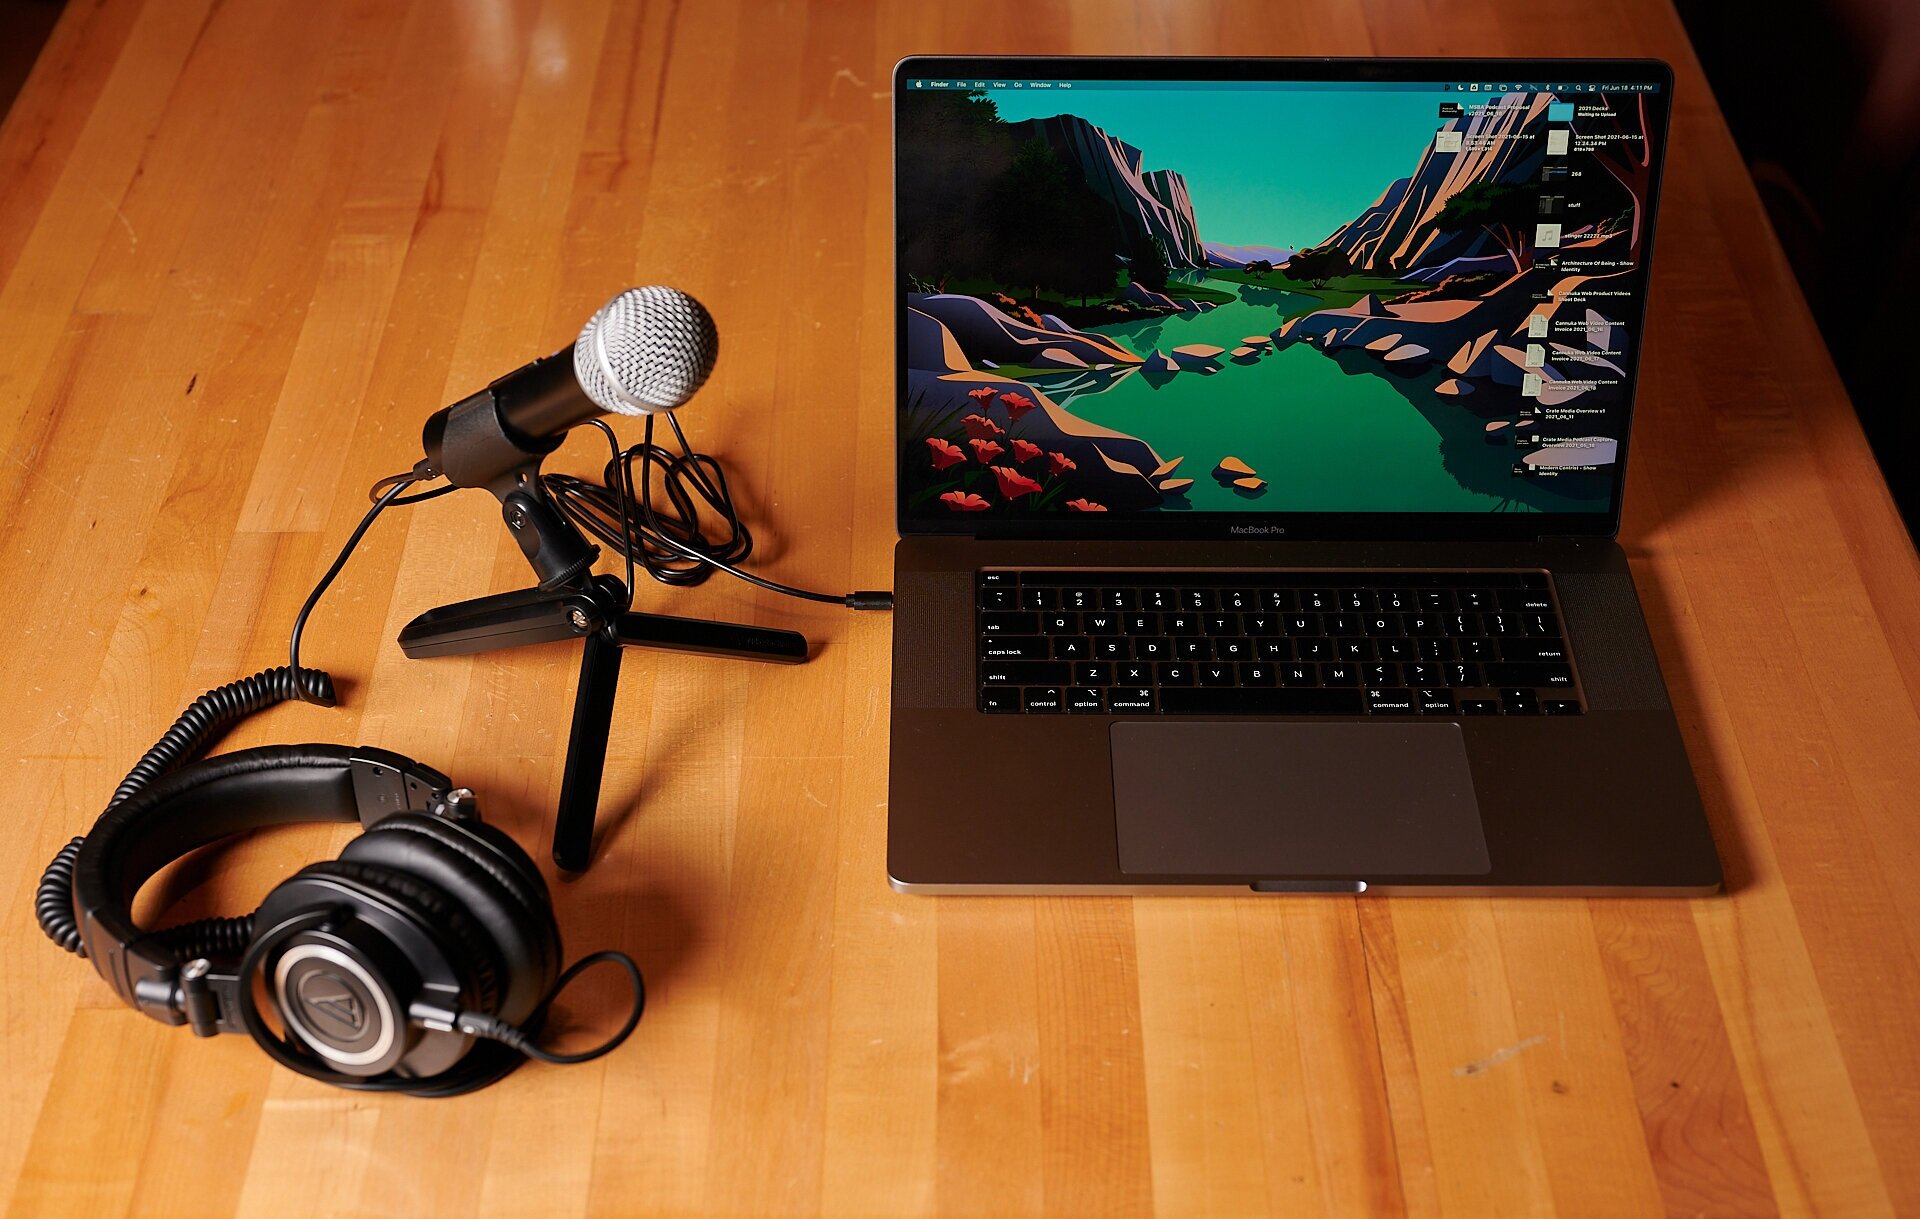
Desktop Options
Laptop / Desktop

Using a computer, you will create a local recording of yourself in addition to the call recording from Zoom.us. Open QuickTime and go to File > New Audio Recording

Using the dropdown menu, choose your “ATR USB” microphone.

Your Zoom audio settings should match the following, with both “Speaker” and “Microphone” set to the ATR USB Microphone.

As with all recording options, before you begin the session, double check that both QuickTime and Zoom are recording.

Zoom H6
Zoom Input/Output

Plug your microphone and its XLR cable into an input on the H6.

Plug your headphones into the headphone jack of the H6.

In order to feed your audio into the H6, you need a particular “stereo to mono” cable. The H6 inputs will not respond to a stereo cable and you may receive distortion and clipping if the wrong cable is used.

Plug the smaller ⅛” end of your Tisino cable into your computer’s headphone jack.

Plug the larger ¼” end of the cable into one of your inputs on the H6 (it doesn’t matter which).

On Zoom, set your “microphone” to your computer’s “Built-in microphone.” Set your “speakers” to “Built-in output (Headphones).”
Pad

Audio coming from your computer tends to be far louder than your microphone. If you notice that Zoom’s audio is clipping or distorted, enable the -20 dB Pad.
Record-enable
Ensure that you have the H6 channels “enabled” for the 2 inputs that you have used to plug in your mic and the cable from your computer.

The inputs that you “enable” should match the same inputs that you plugged your cables into. Look for the red light.

As with all recording options, before you begin the session, double check that both the Zoom H6 and the Zoom meeting are recording.

Troubleshooting
Common Issues
Did you double check your audio input/output settings on Zoom?
Is your mic plugged in?
Are your headphones plugged in?
Are you recording?
RODECaster Pro
Are your channel faders for your mic & the USB channel turned up?
Is your headphone volume turned up?
Zoom H6
Are you using the correct cable to connect your computer to the H6?
Are the channels that you’re using enabled?
ATR-2100
Is the ATR-2100 switched on?
Do you have Voice Memos and Zoom open at the same time?
Did you create your Zoom meeting on a desktop/laptop before recording?